Intro
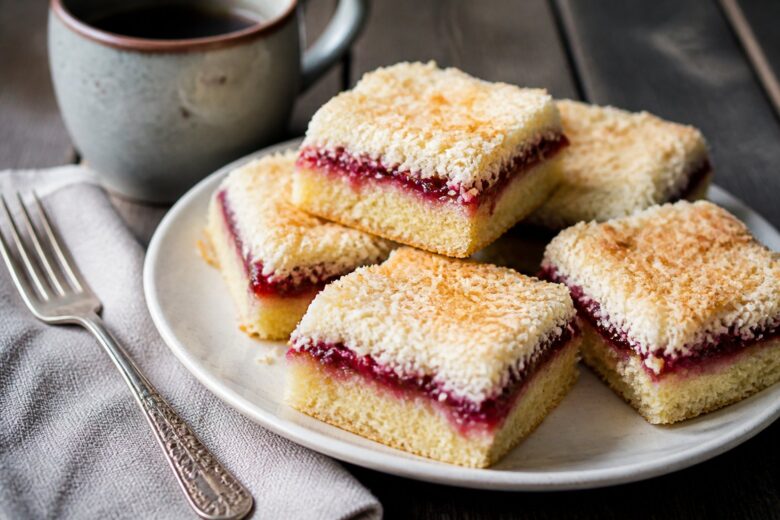
The first time I made this Mary Berry Jam and Coconut Tray Bake Recipe, I wasn’t expecting much. I had some raspberry jam sitting in the fridge, a half-used bag of shredded coconut in the pantry, and I wanted something simple for an afternoon coffee break.
What came out of the oven surprised me.
The cake was soft and buttery, the jam added just enough fruity sweetness, and the coconut topping turned lightly golden around the edges. It reminded me of the kind of homemade cake that shows up at family gatherings, church bake sales, or weekend visits with grandparents.
I actually overbaked it slightly the first time because I got distracted folding laundry. Even then, it still tasted great. The second time, I watched it more closely and ended up with a perfectly tender crumb.
Since then, this Mary Berry Jam and Coconut Tray Bake Recipe has become one of those reliable recipes I turn to when I need an easy dessert that doesn’t require fancy decorating skills or hard-to-find ingredients.
It’s straightforward, comforting, and always seems to disappear faster than expected.
Why This Recipe Works
There are plenty of tray bake recipes online, but this one has a few things going for it.
The sponge cake is soft without being too delicate. It holds the layer of jam well and stays moist for several days.
The jam adds sweetness and a little tartness, which balances the rich buttery cake.
The coconut topping provides texture. Instead of every bite being soft, you get a little chewiness and crunch from the toasted coconut.
Another thing I noticed is that this recipe uses pantry staples most people already have at home.
It’s also easy to transport, which makes it great for potlucks, bake sales, picnics, or family gatherings.
Equipment Needed
You don’t need specialized baking equipment for this recipe.
- Mixing bowls
- Measuring cups
- Measuring spoons
- Electric hand mixer or wooden spoon
- Rubber spatula
- 9×13-inch baking pan
- Parchment paper
- Cooling rack
- Butter knife or offset spatula
Recipe Card
Mary Berry Jam and Coconut Tray Bake Recipe
Prep Time: 15 minutes
Bake Time: 30 minutes
Total Time: 45 minutes
Servings: 12 squares
Cuisine: British Baking
Course: Dessert, Snack, Afternoon Tea
Calories: Approximately 340 calories per serving
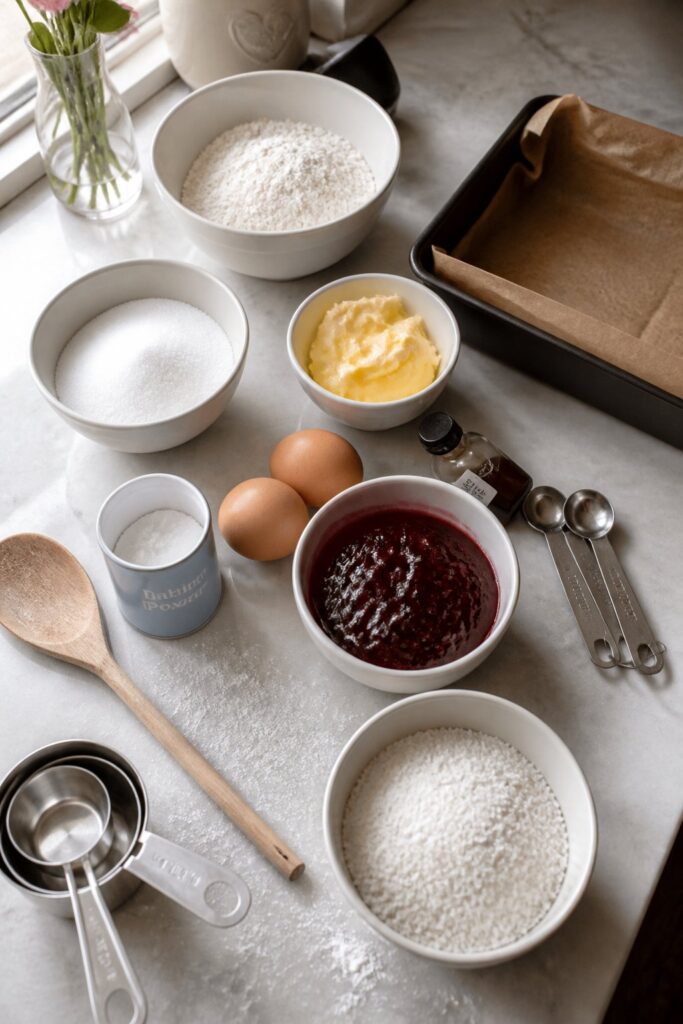
Ingredients
For the Cake
- 1 cup (2 sticks) unsalted butter, softened
- 1 cup granulated sugar
- 4 large eggs
- 2 cups all-purpose flour
- 2 teaspoons baking powder
- 2 tablespoons milk
- 1 teaspoon vanilla extract
For the Topping
- ¾ cup raspberry jam
- 1 cup sweetened shredded coconut
Step-by-Step Instructions
Step 1: Prepare the Baking Pan
Preheat your oven to 350°F.
Line a 9×13-inch baking pan with parchment paper, leaving some overhang on the sides to make removal easier later.
I used to skip the parchment paper and just grease the pan. Trust me, the parchment makes cleanup much easier.
Step 2: Cream the Butter and Sugar
Place the softened butter and sugar into a large mixing bowl.
Beat them together for about 3 to 4 minutes until the mixture becomes pale and fluffy.
The color should lighten noticeably. This step helps create a soft cake texture, so don’t rush it.
Step 3: Add the Eggs
Add the eggs one at a time.
Mix well after each addition.
If the mixture looks slightly curdled, don’t panic. Mine does that sometimes too. Once the flour goes in, everything usually comes together.
Step 4: Add the Dry Ingredients
In a separate bowl, combine the flour and baking powder.
Gradually add the dry ingredients to the butter mixture.
Pour in the milk and vanilla extract.
Mix until you have a smooth batter.
Avoid overmixing. Once the flour disappears, you’re done.
Step 5: Transfer to the Pan
Spread the batter evenly into the prepared baking pan.
Use a spatula to smooth the surface.
The batter will be fairly thick, which is exactly what you want.
Step 6: Bake the Cake
Place the pan in the oven and bake for 25 to 30 minutes.
The cake should turn lightly golden on top.
A toothpick inserted into the center should come out clean or with a few moist crumbs.
The kitchen usually starts smelling buttery and sweet around the 20-minute mark.
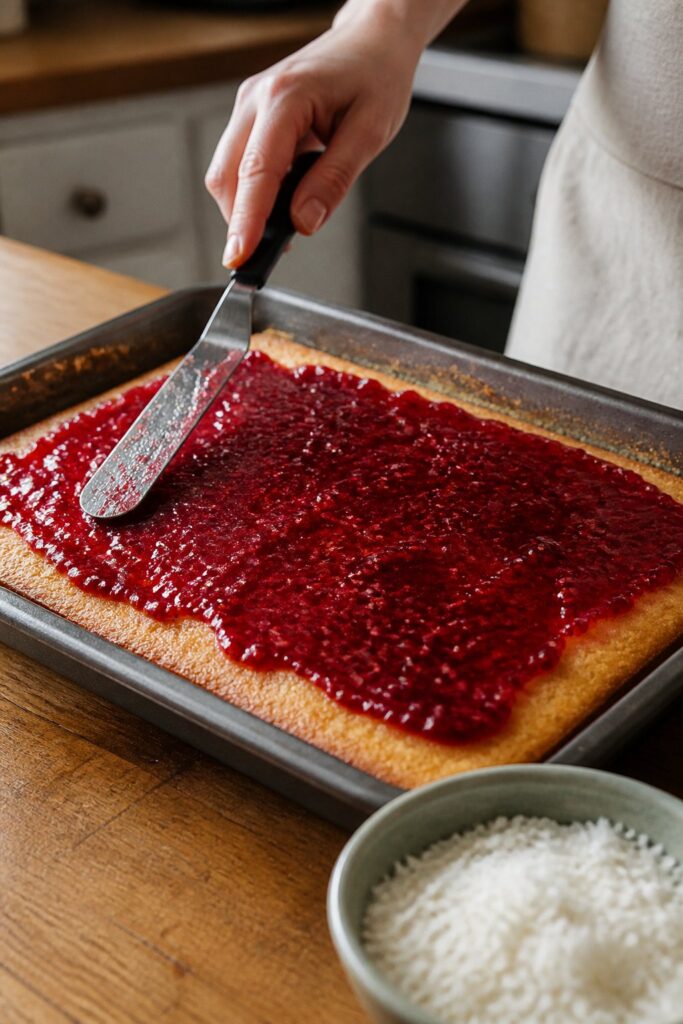
Step 7: Add the Jam
Remove the cake from the oven.
Allow it to cool for about 10 minutes.
Carefully spread the raspberry jam across the surface.
If your jam is thick, microwave it for about 10 seconds to make spreading easier.
What worked better for me was using the back of a spoon instead of a knife. It spread the jam more evenly.
Step 8: Add the Coconut
Sprinkle the shredded coconut evenly over the jam layer.
Try to cover the entire surface.
Some spots may have more coconut than others. That’s completely fine and actually makes the finished cake look more homemade.
Step 9: Cool Completely
Allow the tray bake to cool in the pan for at least 30 minutes.
Lift it out using the parchment paper.
Transfer it to a cooling rack.
Once cooled, cut into 12 squares.
Step 10: Serve
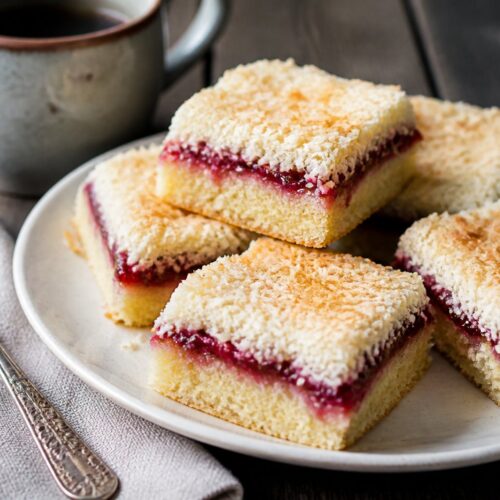
Serve at room temperature.
The sponge should be soft, the jam slightly sticky, and the coconut topping lightly chewy.
Common Mistakes to Avoid
Using Cold Butter
Cold butter won’t cream properly with sugar.
Let it sit at room temperature for about an hour before baking.
Overmixing the Batter
Too much mixing can create a dense cake.
Mix only until combined.
Spreading Jam on a Hot Cake
If the cake is too hot, the jam can become overly runny.
Let it cool slightly first.
Uneven Coconut Distribution
Take an extra minute to spread the coconut evenly for the best texture.
Overbaking
A few extra minutes can dry out the sponge.
Start checking at 25 minutes.
Pro Tips
- Use good-quality raspberry jam for the best flavor.
- Weigh ingredients if possible for consistent results.
- Toast some extra coconut and sprinkle it on top for additional texture.
- Let the cake cool completely before slicing.
- Store overnight for even better flavor development.
- Use parchment paper for easy removal.
Variations
Strawberry Jam Version
Swap the raspberry jam for strawberry jam.
This creates a slightly sweeter flavor profile.
Mixed Berry Version
Use mixed berry preserves for extra fruit flavor.
Lemon Coconut Tray Bake
Add 1 tablespoon lemon zest to the batter.
The citrus works beautifully with the coconut.
Apricot Version
Apricot preserves create a more traditional British-style tray bake.
Almond Twist
Add ½ teaspoon almond extract to the cake batter.
The flavor pairs nicely with both jam and coconut.
Coconut Lovers Version
Mix an additional ½ cup coconut directly into the batter.
Serving Ideas
- Hot coffee
- Earl Grey tea
- English breakfast tea
- Vanilla ice cream
- Fresh strawberries
- Whipped cream
- Cold milk
- Fruit salad
Make-Ahead Tips
One reason I love this Mary Berry Jam and Coconut Tray Bake Recipe is how well it works for advance preparation.
You can bake it a full day ahead.
In fact, I think it tastes even better the next day because the jam settles into the sponge a little more.
If you’re preparing for a gathering, make it the evening before and store it covered at room temperature.
You can also freeze individual slices for future treats.
Storage & Reheating Tips
Room Temperature
Store in an airtight container for up to 4 days.
Refrigerator
Store for up to 1 week.
Bring to room temperature before serving for the best texture.
Freezer
Wrap individual squares tightly.
Freeze for up to 3 months.
Thawing
Allow frozen slices to thaw at room temperature for 1 to 2 hours.
Reheating
This cake is usually best served at room temperature, but a few seconds in the microwave can make it extra soft.
Frequently Asked Questions
Can I use strawberry jam instead of raspberry jam?
Absolutely. Strawberry jam works very well in this recipe.
Can I freeze this tray bake?
Yes. Freeze individual slices in airtight containers for up to 3 months.
What type of coconut should I use?
Sweetened shredded coconut gives the classic texture and flavor.
Why did my cake turn out dense?
The most common causes are overmixing or using butter that wasn’t softened properly.
Can I make this recipe ahead of time?
Yes. This Mary Berry Jam and Coconut Tray Bake Recipe is excellent when made a day in advance.
Can I use homemade jam?
Definitely. Homemade raspberry or strawberry jam works wonderfully here.
Final Thoughts
This Mary Berry Jam and Coconut Tray Bake Recipe proves that simple baking is often the most satisfying.
There aren’t any complicated techniques, fancy decorations, or difficult ingredients involved. Just a soft buttery sponge, fruity jam, and a generous layer of coconut.
The first time I made it, I expected a nice snack cake. What I got was a recipe that quickly became part of my regular baking rotation. I noticed that people always go back for a second piece, which is usually a pretty good sign.
If you’re looking for an easy homemade dessert that feels nostalgic, comforting, and dependable, this Mary Berry Jam and Coconut Tray Bake Recipe is worth making. It’s simple enough for beginner bakers but still delicious enough to serve when friends or family stop by.
Sometimes the old-fashioned recipes really are the best ones.
Mary Berry Jam and Coconut Tray Bake Recipe
Equipment
- Mixing bowls
- Measuring cups
- Measuring spoons
- Electric hand mixer or wooden spoon
- Rubber spatula
- 9×13-inch baking pan
- Parchment paper
- Cooling rack
- Butter knife or offset spatula
Ingredients
For the Cake
- 1 cup 2 sticks unsalted butter, softened
- 1 cup granulated sugar
- 4 large eggs
- 2 cups all-purpose flour
- 2 teaspoons baking powder
- 2 tablespoons milk
- 1 teaspoon vanilla extract
For the Topping
- ¾ cup raspberry jam
- 1 cup sweetened shredded coconut
Instructions
Step 1: Prepare the Baking Pan
- Preheat your oven to 350°F.
- Line a 9×13-inch baking pan with parchment paper, leaving some overhang on the sides to make removal easier later.
- I used to skip the parchment paper and just grease the pan. Trust me, the parchment makes cleanup much easier.
Step 2: Cream the Butter and Sugar
- Place the softened butter and sugar into a large mixing bowl.
- Beat them together for about 3 to 4 minutes until the mixture becomes pale and fluffy.
- The color should lighten noticeably. This step helps create a soft cake texture, so don’t rush it.
Step 3: Add the Eggs
- Add the eggs one at a time.
- Mix well after each addition.
- If the mixture looks slightly curdled, don’t panic. Mine does that sometimes too. Once the flour goes in, everything usually comes together.
Step 4: Add the Dry Ingredients
- In a separate bowl, combine the flour and baking powder.
- Gradually add the dry ingredients to the butter mixture.
- Pour in the milk and vanilla extract.
- Mix until you have a smooth batter.
- Avoid overmixing. Once the flour disappears, you’re done.
Step 5: Transfer to the Pan
- Spread the batter evenly into the prepared baking pan.
- Use a spatula to smooth the surface.
- The batter will be fairly thick, which is exactly what you want.
Step 6: Bake the Cake
- Place the pan in the oven and bake for 25 to 30 minutes.
- The cake should turn lightly golden on top.
- A toothpick inserted into the center should come out clean or with a few moist crumbs.
- The kitchen usually starts smelling buttery and sweet around the 20-minute mark.
Step 7: Add the Jam
- Remove the cake from the oven.
- Allow it to cool for about 10 minutes.
- Carefully spread the raspberry jam across the surface.
- If your jam is thick, microwave it for about 10 seconds to make spreading easier.
- What worked better for me was using the back of a spoon instead of a knife. It spread the jam more evenly.
Step 8: Add the Coconut
- Sprinkle the shredded coconut evenly over the jam layer.
- Try to cover the entire surface.
- Some spots may have more coconut than others. That’s completely fine and actually makes the finished cake look more homemade.
Step 9: Cool Completely
- Allow the tray bake to cool in the pan for at least 30 minutes.
- Lift it out using the parchment paper.
- Transfer it to a cooling rack.
- Once cooled, cut into 12 squares.
Step 10: Serve
- Serve at room temperature.
- The sponge should be soft, the jam slightly sticky, and the coconut topping lightly chewy.
Notes
- Use good-quality raspberry jam for the best flavor.
- Weigh ingredients if possible for consistent results.
- Toast some extra coconut and sprinkle it on top for additional texture.
- Let the cake cool completely before slicing.
- Store overnight for even better flavor development.
- Use parchment paper for easy removal.